What Causes Pool Paint to Blister?
Pool paint blisters are not random. Every blister has a specific cause, and understanding which one is affecting your pool determines the correct repair approach.
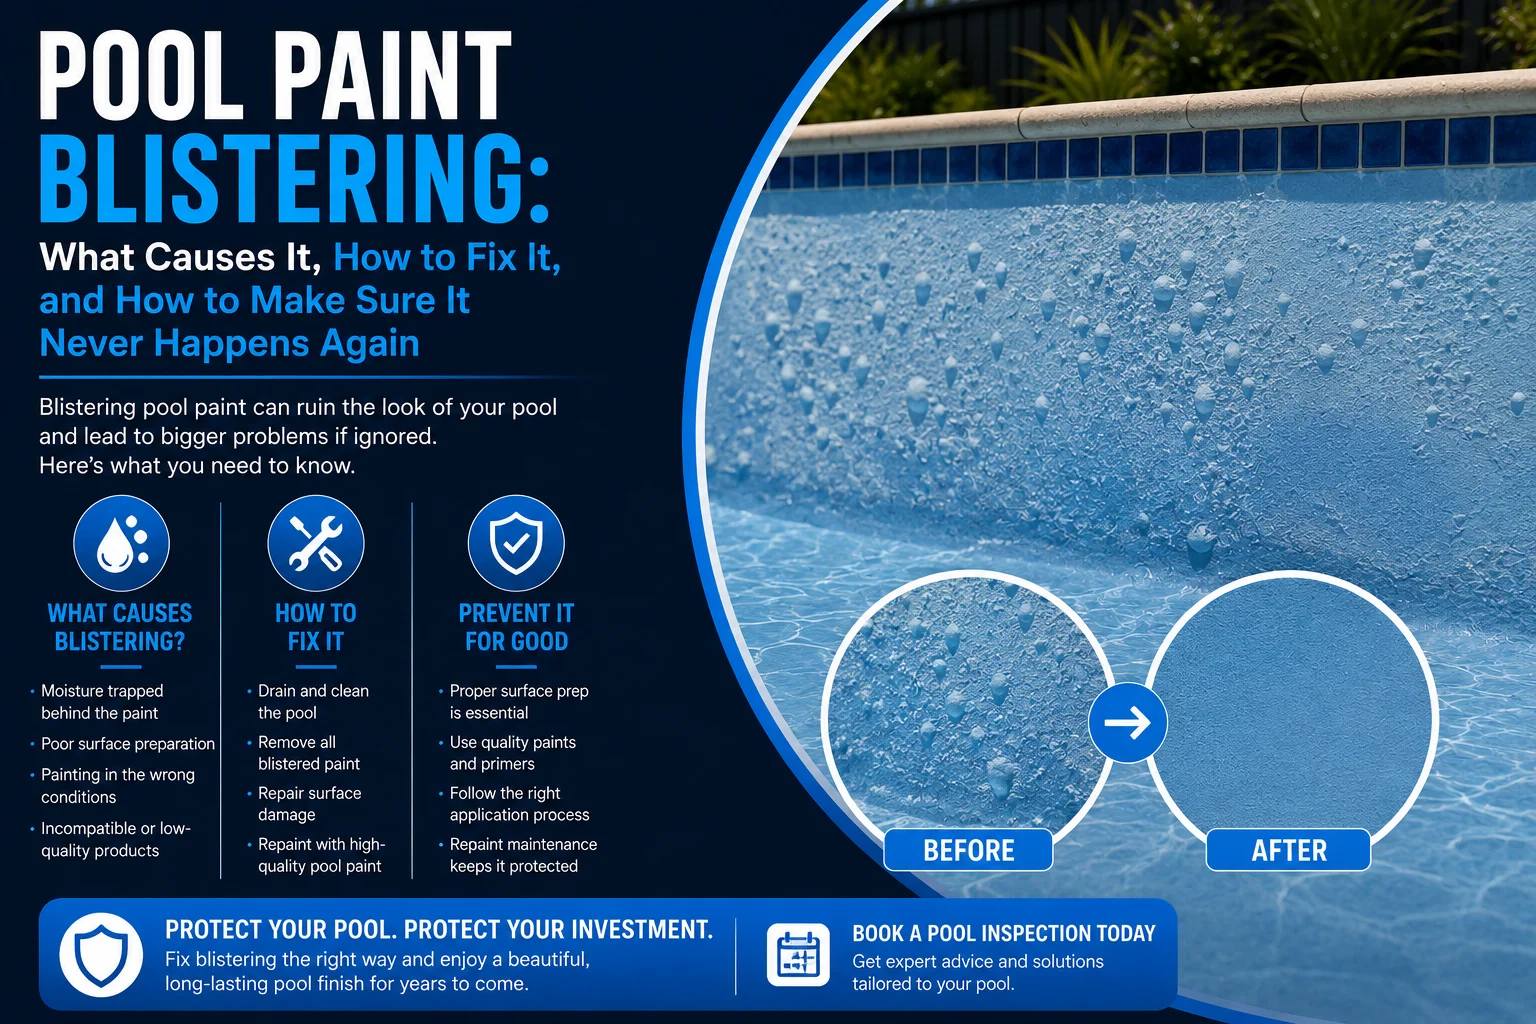
Moisture trapped beneath the paint (the most common cause). When pool paint is applied to a surface that has not dried thoroughly after draining, moisture remains trapped between the concrete substrate and the paint film. As the pool refills and the water temperature rises, that trapped moisture turns to vapour and pushes the paint film away from the surface, forming blisters. Concrete pool shells are porous and absorb significant amounts of water during their life. After draining, the shell can take days to weeks to dry sufficiently for painting, depending on the weather, the concrete’s age, and the thickness of the shell.
Osmotic blistering from groundwater pressure. When the water table around the pool is high, groundwater pushes moisture through the concrete shell from the outside. This moisture migrates through the porous concrete and accumulates behind the paint film, creating blisters from behind. Osmotic blistering is particularly common in low-lying areas, properties near waterways, and during periods of heavy rainfall. Pool waterproofing addresses this by creating a barrier that prevents moisture migration through the shell.
Incompatible paint systems. Applying one type of pool paint over a different, incompatible type causes adhesion failure and blistering. The most common incompatibility issues are applying epoxy paint over chlorinated rubber paint (or vice versa) without full removal of the existing coating, and applying any paint over a surface that still has traces of a previous incompatible system. The pool paint types guide covers compatibility between different paint systems.
Poor surface preparation. Paint applied over a surface with residual contaminants (algae, calcium scale, grease, dust, old paint residue, or chemical residue from the previous water treatment) cannot bond properly. The contaminant layer sits between the paint and the concrete, and the paint blisters away from the contamination rather than bonding to the substrate. Proper pool surface preparation eliminates every contaminant before paint is applied.
Chemical attack from pool water. Pool water that is consistently out of balance, particularly water with low pH (acidic) or high chlorine levels, attacks the paint film from the water side. Over time, the chemical exposure weakens the paint’s resin structure, allowing water to penetrate through the film and accumulate between the paint and the substrate. This creates blisters that appear to form from the water side in.
“Nine times out of ten, pool paint blistering comes down to one thing: the surface was not dry enough or clean enough before the paint went on. Pool painting is not complicated, but it is unforgiving. If the preparation is wrong, the paint tells you within months.”
Types of Pool Paint Blisters and What Each Means
Not all blisters are the same. The size, location, and contents of the blister help diagnose the cause.
| Blister Type | What It Looks Like | Most Likely Cause | What Is Inside |
|---|---|---|---|
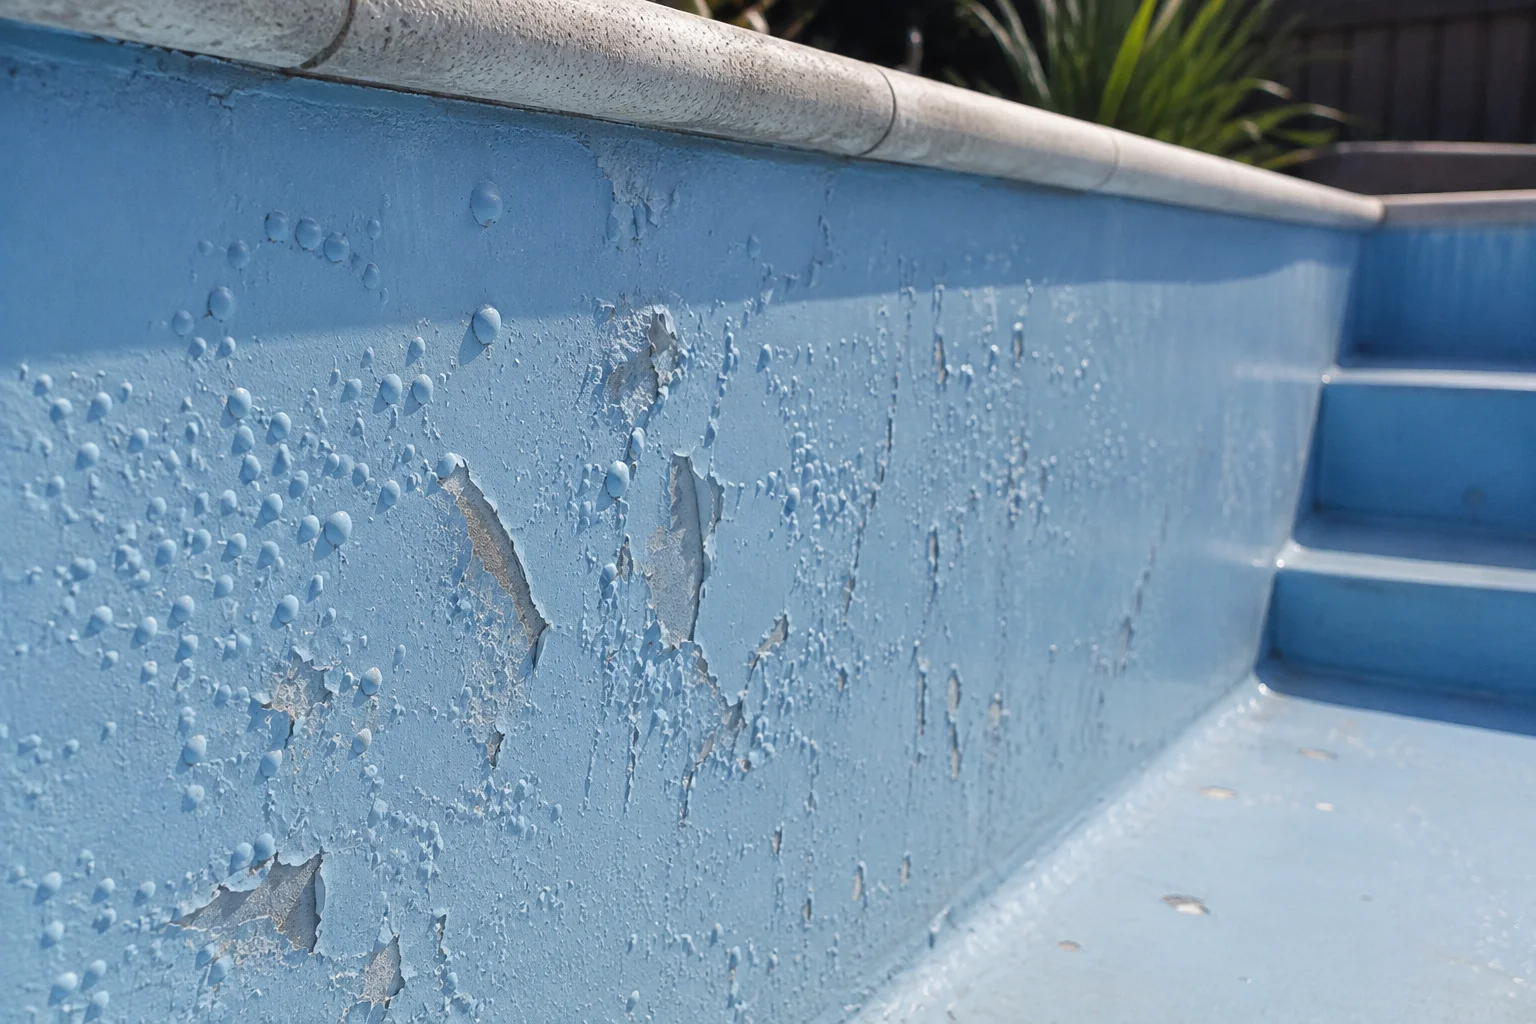
| Small, widespread blisters (pinhead to 5mm) | Hundreds of tiny raised bumps across large areas of the pool surface | Moisture trapped during application or osmotic pressure from behind | Clear water or slightly cloudy liquid |
| Large isolated blisters (20mm to 50mm+) | Individual large bubbles, often on walls or floor sections | Localised contamination on the surface before painting, or localised moisture pocket | Water, sometimes with a brownish discolouration from rust or tannin staining |
| Blisters at the waterline band | Concentrated blistering at or just below the waterline level | Chemical attack from concentrated sanitiser at the waterline, UV exposure above waterline | Water with chemical residue |
| Blisters appearing within weeks of painting | Rapid onset across recently painted surfaces | Surface not dry, wrong paint type, or catastrophic preparation failure | Water (moisture from the substrate) |
| Blisters appearing after 2 to 5 years | Gradual onset on an older painted surface | Paint system reaching the end of its life, water chemistry damage over time, or delayed osmotic pressure | Water, sometimes with calcium deposits |
For blisters appearing on a recently painted pool (within the first year), the cause is almost always preparation-related: insufficient drying, inadequate surface cleaning, or paint incompatibility. For blisters appearing on older paint (3+ years), the cause is more likely environmental: water chemistry, osmotic pressure, or normal end-of-life paint degradation.
Can You Fix Pool Paint Blisters Without a Full Repaint?
The short answer: rarely, and only if the blistering is genuinely isolated to a small area with a clear, localised cause.
What does not work: Sanding down the blisters, spot-priming, and repainting over the top. This is the most common DIY approach and it fails almost every time because the cause of the blistering (moisture, contamination, incompatibility) is still present underneath the surrounding paint that has not blistered yet. The new paint bonds to the old paint, not to the concrete, and the blisters return, often spreading to a larger area.
What works for very small, isolated blistering: If the blistering is confined to a specific area (one wall section, around a fitting, near a return jet) and the cause is clearly localised (a plumbing leak behind that section, contamination from a specific source), the affected area can be stripped back to bare concrete, the cause fixed, the surface properly prepared and primed, and repainted. However, achieving a colour and texture match with the surrounding paint is difficult, and the patch is often visible.
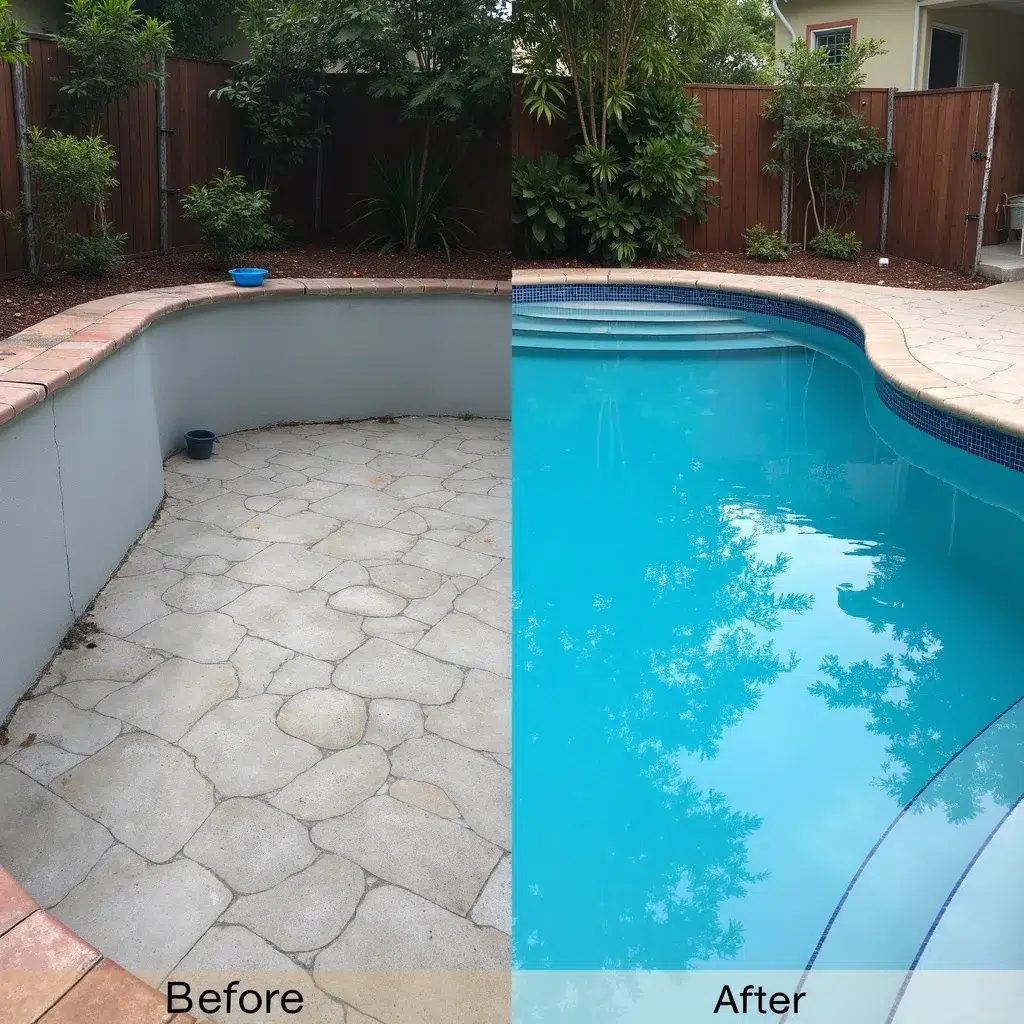
What works for widespread blistering: The entire pool must be stripped back to bare concrete. This means removing all existing paint using a combination of pool blasting (bead blasting, soda blasting, or sand blasting) and/or chemical stripping. Once the surface is bare, the cause of the blistering is addressed (drying the shell, fixing waterproofing, resolving drainage), and a fresh paint system is applied from scratch on a properly prepared surface.
The Correct Repair Process for Blistered Pool Paint
When blistering requires a full strip and repaint (which is the case for most widespread blistering), the process follows a specific sequence.
Step one: Drain the pool. The pool is completely drained using a controlled process. The hydrostatic relief valve is opened if the pool is in an area with a high water table to prevent the shell from lifting under groundwater pressure.
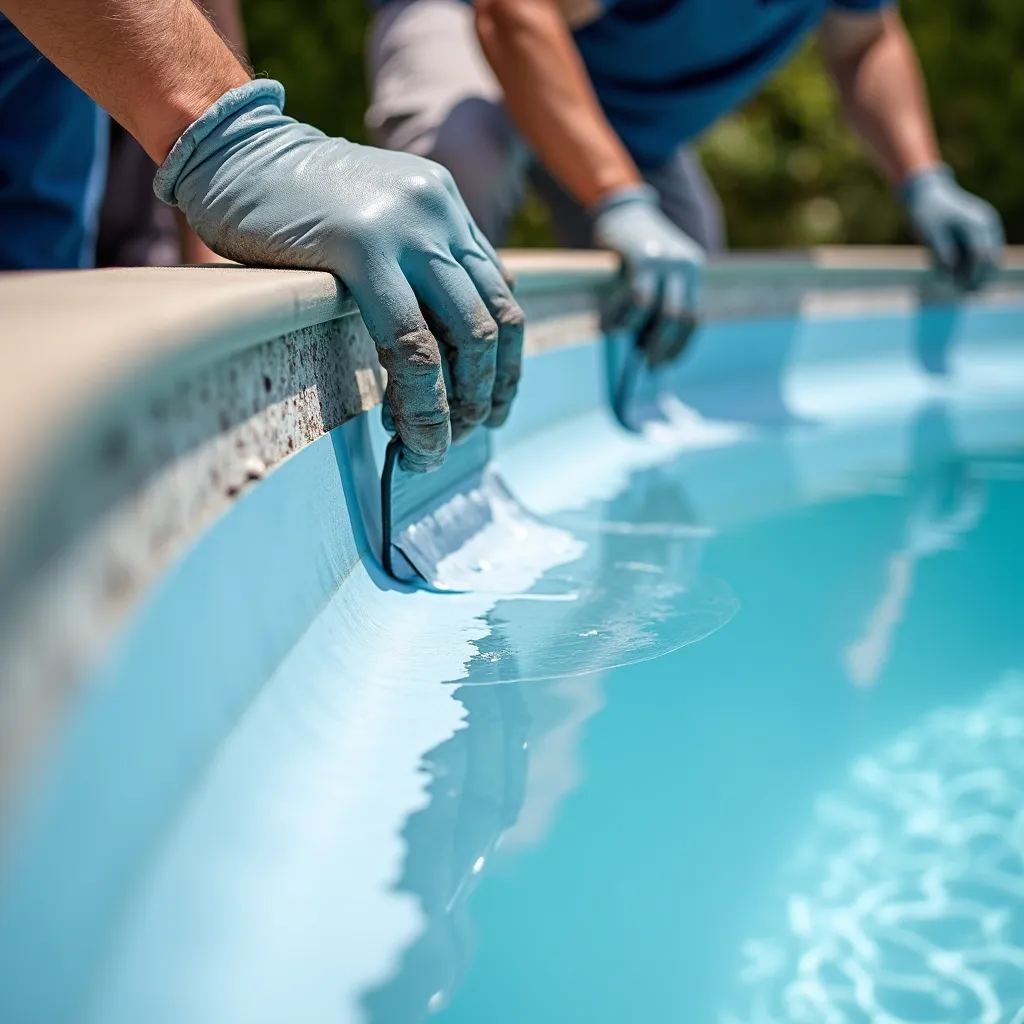
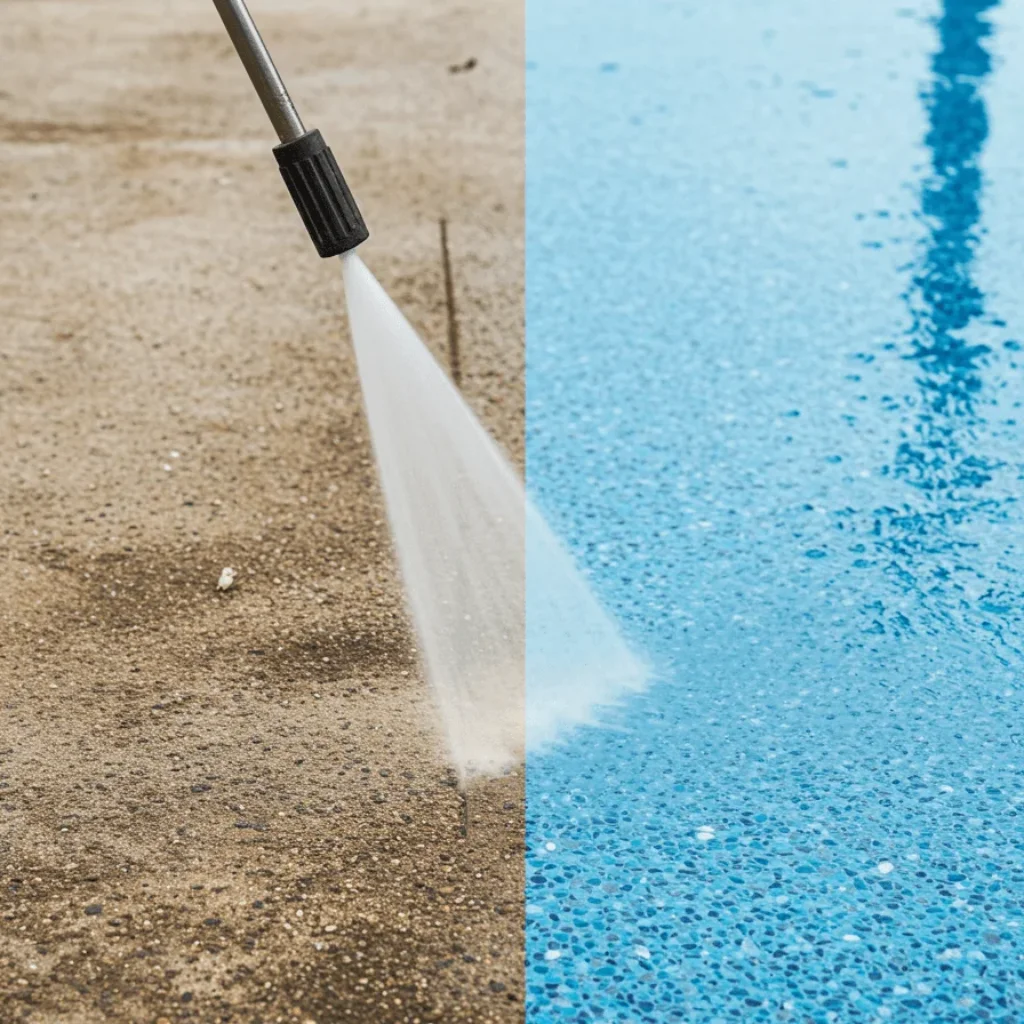
Step two: Strip the existing paint. All existing paint is removed back to bare concrete. Pool blasting is the most thorough method, removing every trace of the old paint system and leaving a clean, textured concrete surface that provides excellent mechanical adhesion for the new coating.
Step three: Identify and fix the cause. With the paint removed, the bare concrete surface reveals the story. Moisture migration through the shell is visible as damp patches or weeping. Cracks that contributed to water entry are visible and can be repaired. Substrate deterioration is evident and can be addressed through rendering or patching. If osmotic blistering was the cause, pool waterproofing is applied to the bare shell before painting to block moisture migration.
Step four: Surface preparation. The bare concrete is acid washed to remove any remaining contaminants, calcium deposits, and surface laitance. The surface is then rinsed thoroughly and allowed to dry completely. Drying time depends on weather conditions and can take several days to two weeks. Moisture readings are taken with a moisture meter to confirm the surface is below the acceptable moisture threshold before painting begins.
Step five: Prime. A dedicated pool primer compatible with the chosen topcoat system is applied to the prepared, dry surface. The primer seals the porous concrete and creates a consistent base for the topcoat to adhere to.
Step six: Apply topcoat. Two coats of the selected pool paint system are applied according to the manufacturer’s specifications. For Luxapool epoxy (the premium option), the recoat window, temperature, and humidity requirements must be followed precisely. Each coat must cure to the specified level before the next is applied.
Step seven: Cure and refill. The final coat must cure for the manufacturer’s specified period before the pool is refilled. Rushing the refill before the paint has fully cured is a common cause of early failure and blistering on repainted pools.
For a complete overview of paint options and their longevity, read the pool paint types comparison and the how long pool paint lasts guide.
How to Prevent Pool Paint Blistering
Prevention is entirely about getting the preparation and application right the first time.
Ensure the pool shell is completely dry before painting. This is the single most important factor. After draining, the concrete shell needs days to weeks to dry depending on conditions. Use a moisture meter to confirm readings are below the paint manufacturer’s specified threshold before applying any coating. Never rush this step.
Remove all existing paint down to bare concrete. Unless you are recoating with the same compatible paint type and the existing coating is in sound condition, strip the old paint completely. Painting over an unknown or incompatible existing coating is a recipe for blistering.
Prepare the surface thoroughly. Surface preparation including blasting, acid washing, and contamination removal ensures the new paint bonds directly to clean concrete with nothing in between to compromise adhesion.
Use the right paint for the surface and conditions. Different substrates and conditions require different paint systems. The pool paint types guide covers which product suits which situation. Luxapool epoxy is the premium choice for maximum durability and blister resistance.
Address groundwater pressure before painting. If the pool is in an area with a high water table, pool waterproofing must be applied to the shell before the paint system goes on. Without this barrier, osmotic blistering is inevitable regardless of how well the paint is applied.
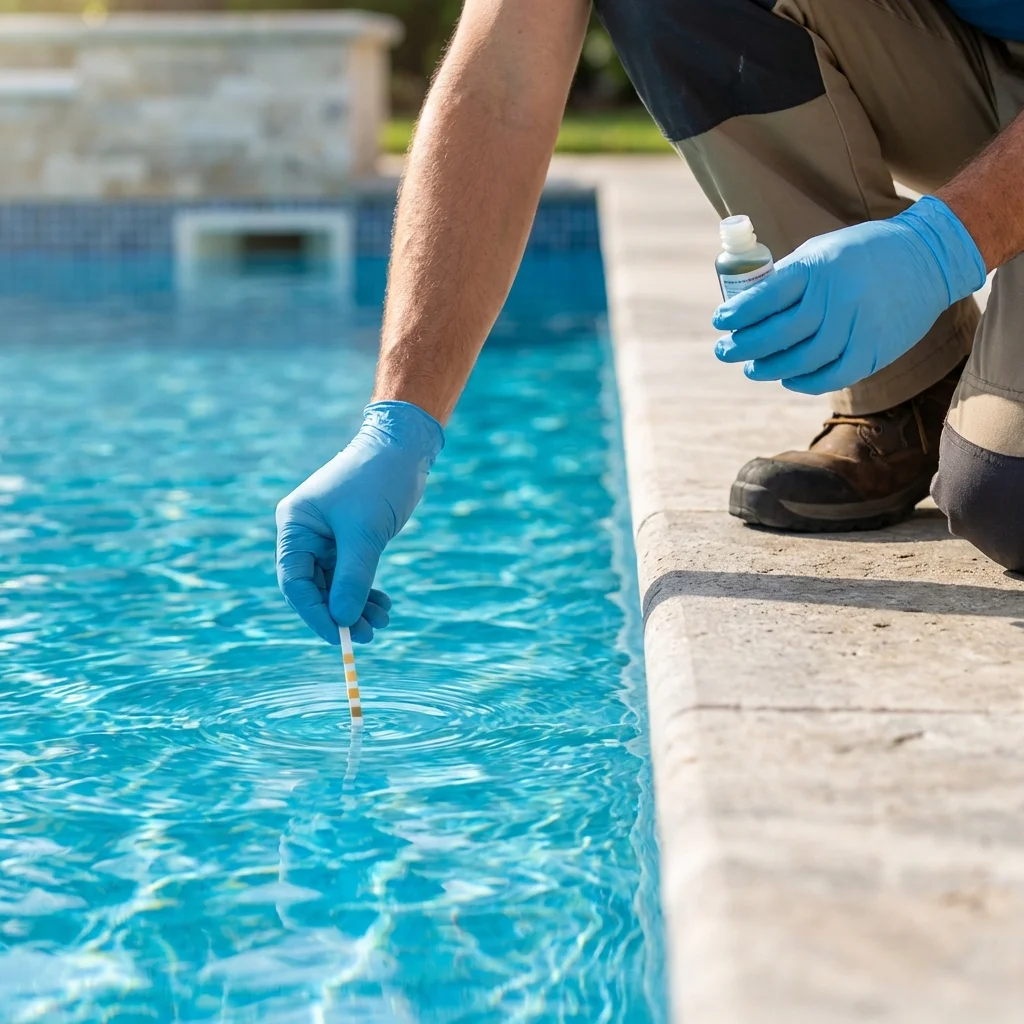
Maintain correct water chemistry after painting. Keep pH between 7.2 and 7.6, alkalinity between 80 and 120 ppm, and sanitiser levels within the paint manufacturer’s recommended range. Aggressive water chemistry is the most common cause of premature paint failure on otherwise correctly applied systems.
Follow the manufacturer’s curing instructions before refilling. Every paint system has a specified curing period before the pool can be refilled. Filling too early traps uncured solvents beneath the water and weakens the paint film.
For ongoing paint maintenance, the pool resurfacing maintenance guide covers how to extend the life of your painted surface.
When Resurfacing Is Better Than Repainting
If your pool has experienced repeated blistering despite correct preparation and application, or if the concrete substrate has deteriorated to the point where it can no longer hold a paint system reliably, switching to a different surface finish may be the better long-term solution.
Pebblecrete resurfacing eliminates the painted surface entirely. Pebblecrete is a cement-based finish with embedded stone aggregates that bonds directly to the concrete shell. It does not rely on the same adhesion mechanism as paint and is not susceptible to the same blistering failure mode. It lasts 10 to 15 years compared to five to eight years for paint.
Concrete pool resurfacing with a rendered and sealed finish provides another paint-free alternative.
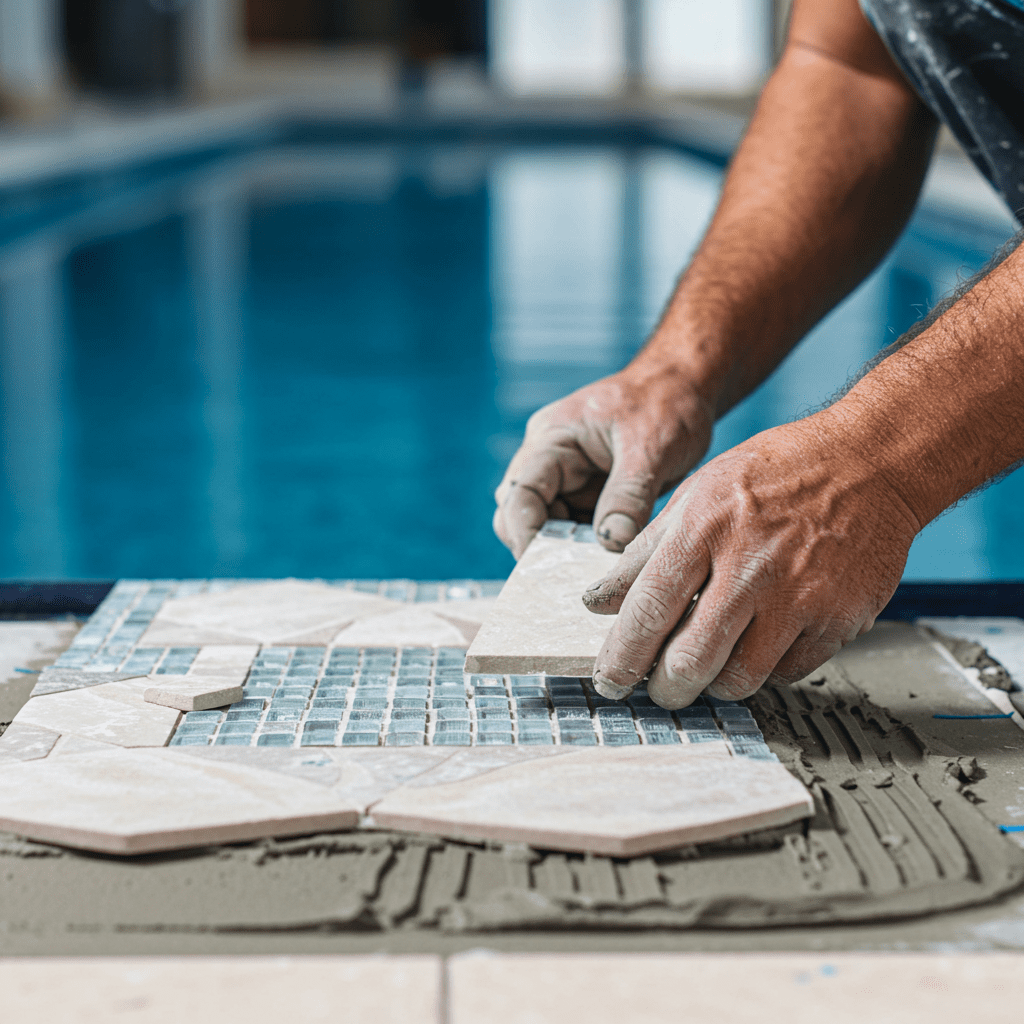
Pool tiling replaces the painted surface with tiles bonded to the substrate with thinset adhesive, eliminating paint failure entirely.
For a comparison of all surface options, the pool surface options guide and the pool resurfacing cost guide cover every choice and its pricing.