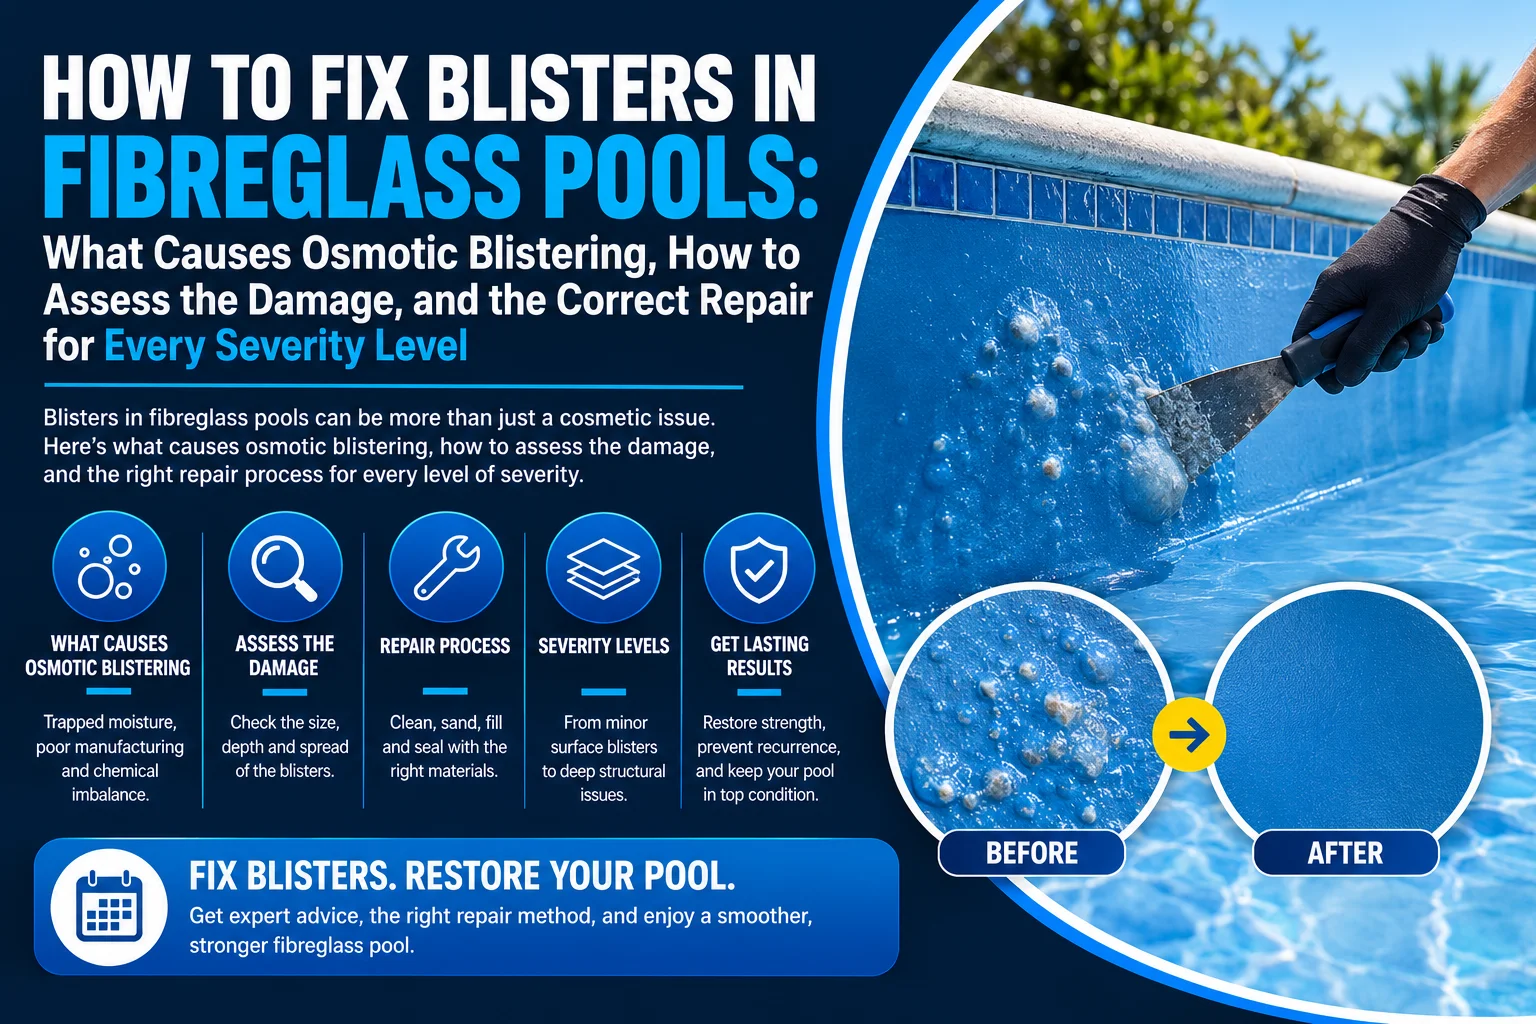
What Causes Blisters in Fibreglass Pools
Fibreglass pool blisters are caused by a chemical process called osmosis, not by impact, wear, or poor maintenance. Understanding the process explains why they form and why they worsen over time.
Stage 1: Water penetration. The gelcoat (the smooth, coloured outer surface of a fibreglass pool) is designed to be a waterproof barrier. Over time, through micro-cracks from UV exposure, chemical attack, age, or manufacturing inconsistencies, water molecules begin to pass through the gelcoat at a molecular level. This process is slow (often taking 5 to 15 years before blisters appear) and invisible.
Stage 2: Chemical reaction. Once water reaches the fibreglass laminate beneath the gelcoat, it contacts water-soluble chemicals in the resin and fibreglass layers (uncured styrene, glycols, and other byproducts of the manufacturing process). The water dissolves these chemicals, creating a concentrated acidic solution trapped between the gelcoat and the laminate.
Stage 3: Osmotic pressure. The concentrated solution behind the gelcoat has a higher chemical concentration than the pool water outside. Osmosis drives more water through the gelcoat toward the higher concentration, attempting to equalise. This incoming water increases the pressure behind the gelcoat, pushing it outward into a dome-shaped blister.
Stage 4: Growth and multiplication. As more water enters, the blister grows. The acidic solution inside the blister attacks the surrounding laminate, creating more soluble chemicals, which draws in more water, which increases pressure further. Neighbouring areas of the gelcoat weaken from the same process, and new blisters form. Without intervention, the blistering progresses across the pool surface.
“The most common misconception about fibreglass pool blisters is that they are caused by poor water chemistry or physical damage. They are not. Osmotic blistering is a chemical process that begins inside the pool shell, driven by the interaction between water and the manufacturing byproducts in the laminate. Water chemistry and UV exposure can accelerate the process, but the root cause is the water penetrating past the gelcoat and reaching the reactive chemicals underneath.”
How to Identify Fibreglass Pool Blisters
Blisters are most visible and most easily assessed when the pool is drained.
| What to Look For | What It Means |
|---|
| Small dome-shaped bumps on the gelcoat surface (2 to 10mm diameter) | Early-stage osmotic blisters. Water has penetrated the gelcoat and is building pressure behind it. |
| Larger domes (10 to 50mm or more) | Advanced blisters. More water has accumulated. Higher pressure. More laminate damage underneath. |
| Blisters that “weep” when punctured, releasing a dark, acidic, vinegar-smelling liquid | Confirmed osmotic blistering. The liquid is the acidic solution produced by the water reacting with the laminate chemicals. |
| Clusters of blisters across a panel or zone | Moderate to widespread blistering. The gelcoat in that area has lost its barrier function. |
| Blisters across the entire pool (walls and floor) | Severe, widespread osmotic failure. The gelcoat barrier has failed comprehensively. |
| Soft, spongy areas on the pool surface (even without visible blisters) | The laminate beneath the gelcoat is waterlogged. Blisters may form soon, or the gelcoat may be delaminating without visible doming. |
| Gelcoat flaking or peeling away from the laminate | Advanced delamination. The gelcoat has separated from the underlying fibreglass. Beyond individual blister repair. |
For any blistering beyond a few isolated small blisters, a professional pool inspection determines the full extent, the depth of the damage, and the appropriate repair method.
Severity Levels and the Correct Repair for Each
The repair approach must match the severity. Under-repairing (patching individual blisters when the gelcoat has failed broadly) results in new blisters appearing within months. Over-repairing (stripping the entire gelcoat when only a few blisters are present) adds unnecessary cost.
| Severity | What It Looks Like | Repair Approach | Typical Scope |
|---|
| Minor (localised, few blisters) | A handful of small blisters (under 10mm) in one area. Rest of the gelcoat is sound. | Grind out individual blisters, dry the cavities, fill with epoxy filler, fair the surface, apply barrier coat and gelcoat to the repaired areas. | Spot repair. The pool does not need full resurfacing. |
| Moderate (multiple areas, larger blisters) | Numerous blisters of varying sizes across multiple panels or zones. Some blisters over 10mm. The gelcoat is compromised in several areas. | Grind out all blisters, dry the substrate thoroughly, apply a full barrier coat system over the affected areas (or the entire pool for consistency), and apply new gelcoat or a compatible topcoat. | Partial or full resurfacing depending on the distribution. |
| Severe (widespread, large, or delaminating) | Blisters across most of the pool. Large blisters. Soft or spongy areas. Gelcoat flaking or separating from the laminate. | Strip the gelcoat entirely (mechanical grinding or blasting), dry the laminate thoroughly (this can take weeks depending on moisture content), apply a multi-layer epoxy barrier coat system, and resurface with new gelcoat or a compatible coating system. | Full pool resurfacing. The existing gelcoat is removed and replaced. |
The Repair Process Step by Step
For moderate to severe blistering, the repair follows a structured protocol. Skipping steps (particularly drying) is the most common cause of blister recurrence after repair.
Step 1: Drain the pool completely. The pool must be fully drained to expose and assess every blister. Blisters below the waterline are not visible or assessable while the pool is filled.
Step 2: Identify and map every blister. Every blister is located, marked, and assessed for size and depth. The distribution pattern (localised, zonal, or widespread) determines the repair scope.
Step 3: Grind out the blisters. Each blister is ground open using an angle grinder or rotary tool to expose the cavity underneath. The dome of the blister is removed along with any loose or delaminated gelcoat surrounding it. The cavity is cleaned and the acidic liquid inside is flushed out. For severe cases where the entire gelcoat is compromised, the full gelcoat layer is stripped by grinding or media blasting.
Step 4: Wash and neutralise. The exposed laminate is washed with fresh water to remove all traces of the acidic osmotic solution. Some repair protocols include a diluted alkaline wash to neutralise the acid residue in the laminate.
Step 5: Dry the laminate. This is the most critical and most time-consuming step. The fibreglass laminate must be dried to an acceptable moisture content before any coating is applied over it. If the laminate is still wet when the barrier coat and gelcoat are applied, the trapped moisture will drive new osmotic blistering within months, and the entire repair will fail.
Drying time depends on the severity of the waterlogging, the ambient temperature, the humidity, and whether mechanical drying aids (dehumidifiers, heaters, fans) are used. A lightly affected pool may dry sufficiently in one to two weeks. A severely waterlogged pool may take four to eight weeks. Moisture readings are taken with a moisture meter to confirm the laminate has reached the target moisture level before proceeding. There is no shortcut for this step.
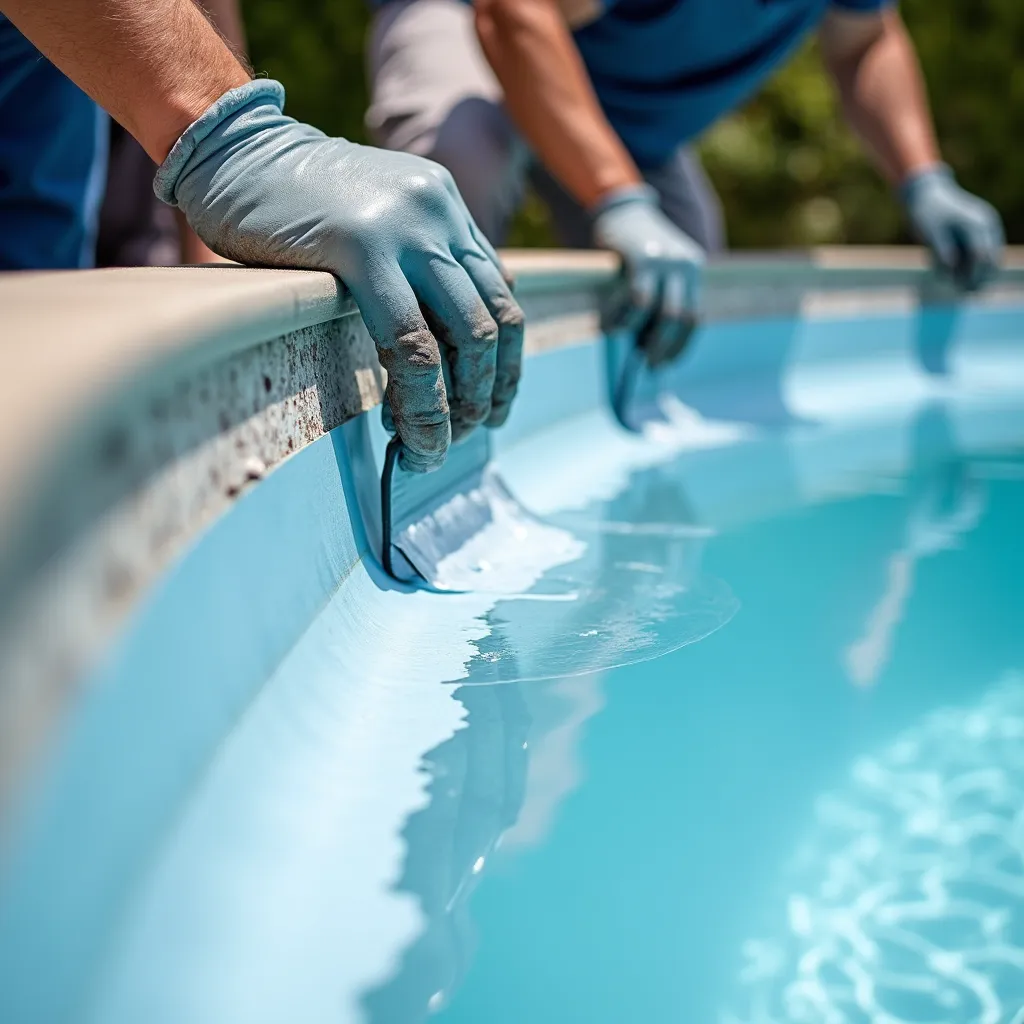
Step 6: Apply epoxy barrier coat. Once the laminate is dry, a multi-layer epoxy barrier coat system is applied. Epoxy (not polyester) is used because epoxy has significantly lower water permeability than polyester resin, which is what makes it an effective barrier against future osmotic water penetration. Multiple coats (typically three to five) build a barrier thick enough to resist water transmission for years.
Step 7: Fair the surface. The barrier-coated surface is faired (smoothed and levelled) using an epoxy filler where grinding has created uneven areas. The goal is a smooth, uniform surface ready for the topcoat.
Step 8: Apply topcoat. The final surface is applied over the barrier coat. This may be a new gelcoat (sprayed and polished), a compatible pool coating, or an epoxy pool paint depending on the repair specification and the pool owner’s preference. For coating options, the pool surface options guide covers every choice. For paint-specific information, the how long does pool paint take to cure guide covers cure timing by product type.
Step 9: Refill and balance water chemistry. The pool is refilled and the water chemistry is balanced within the recommended ranges. For guidance on managing a newly surfaced pool, the pool resurfacing maintenance guide covers the critical first 28 days.
Why Blisters Come Back After Repair (and How to Prevent It)
Blister recurrence after repair is almost always caused by one of three errors.
Insufficient drying. The laminate was not dried to the correct moisture level before the barrier coat was applied. The trapped moisture drives new osmotic activity behind the new coating. This is the most common cause of failed blister repairs and the reason drying cannot be rushed. Moisture meter readings must confirm the laminate is dry before coating.
Inadequate barrier coat. The barrier coat was too thin (not enough layers), used the wrong product (polyester instead of epoxy), or was not applied correctly (missed areas, poor adhesion, contaminated surface). The barrier must be continuous, correctly thick, and fully cured before the topcoat is applied.
Underlying laminate damage not addressed. If the laminate itself is severely waterlogged, delaminated, or structurally compromised, a surface-level repair (grinding, barrier coat, and topcoat) may not be sufficient. The damaged laminate may need structural repair (fibreglass layup to replace the compromised material) before the barrier coat system is applied.
At Advance Pool Painting, every fibreglass blister repair includes moisture testing before coating, epoxy barrier coat application (not polyester), and a drying protocol that is not compressed to meet an arbitrary timeline. The repair is complete when the laminate is dry and the barrier coat is correctly applied, not when the calendar says it should be.
When to Repair vs When to Resurface
| Situation | Approach | Why |
|---|
| A few small blisters (under 10mm) in one area, rest of gelcoat sound | Spot repair | Localised issue. The gelcoat barrier is still functional across most of the pool. |
| Multiple blisters across several areas but gelcoat generally intact between them | Grind and patch blisters, barrier coat the full pool | The gelcoat is weakening broadly. Barrier coating the entire pool prevents new blisters in areas that have not yet blistered. |
| Widespread blistering across most of the pool | Full gelcoat strip, dry, barrier coat, and resurface | The gelcoat has failed as a barrier. Patching individual blisters will not stop new ones forming everywhere else. |
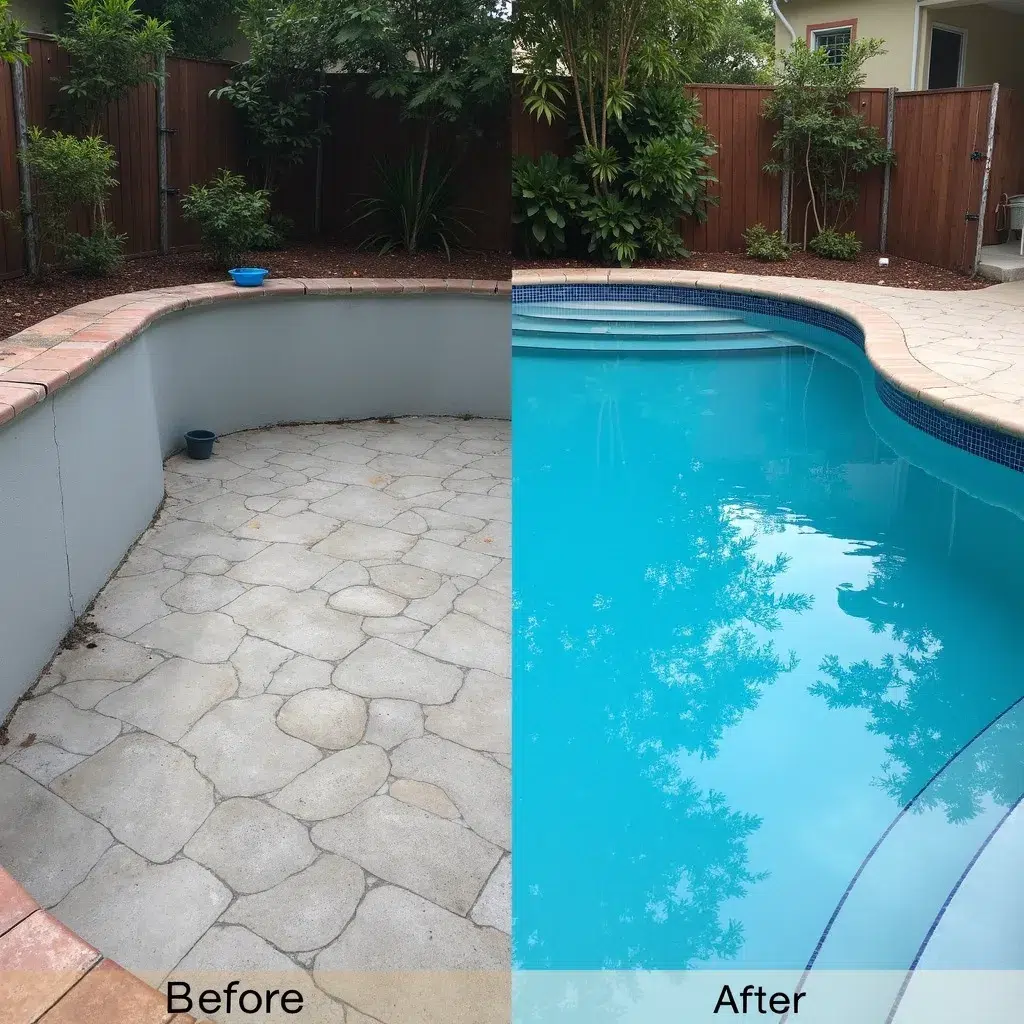
| Blisters plus other surface issues (fading, chalking, staining, roughness) | Full resurface combining blister repair with surface renewal | Address everything in one project. The pool needs draining and surface work regardless. |
| Minor blisters plus the pool is due for a regular resurface | Include blister repair in the resurfacing scope | The most cost-effective timing. Blister repair during a planned resurface saves a separate mobilisation. |
For full pricing context, the pool resurfacing cost guide covers all surface types and scenarios.
Preventing Blisters in Fibreglass Pools
While osmotic blistering cannot be completely prevented (it is inherent to the interaction between water and fibreglass laminate chemistry), several factors reduce the risk and slow the progression.
Maintain balanced water chemistry. Aggressive water (low pH, low alkalinity) accelerates gelcoat degradation, which allows water to penetrate sooner. Keep pH between 7.2 and 7.6, total alkalinity between 80 and 120 ppm, and calcium hardness between 200 and 300 ppm. The pool resurfacing maintenance guide covers the full chemistry program.
Avoid draining the pool unnecessarily. Counterintuitively, draining a fibreglass pool and leaving it empty can accelerate blistering. When the pool is drained, the water inside the laminate (which is always present at a molecular level in older pools) is no longer balanced by the hydrostatic pressure of the pool water outside. The internal moisture expands and can push the gelcoat outward, forming blisters. Drain only when necessary for repairs, and refill promptly.
Address small blisters early. A few small blisters repaired promptly is a minor fix. The same blisters left for years become a major resurfacing project as the osmotic process spreads and deepens. Early intervention is always less expensive than delayed intervention.
Apply a barrier coat during resurfacing. Whenever a fibreglass pool is resurfaced for any reason, including an epoxy barrier coat as part of the resurfacing system significantly reduces the risk of future osmotic blistering. This is a standard recommendation at Advance Pool Painting for every fibreglass pool resurfacing project.
For established stain issues alongside blistering, the how to remove pool stains guide covers treatment methods. For understanding when pool surfaces generally need attention, the how often should a pool be resurfaced guide covers timing by surface type.