Why Proper Pool Prep Matters Before Painting
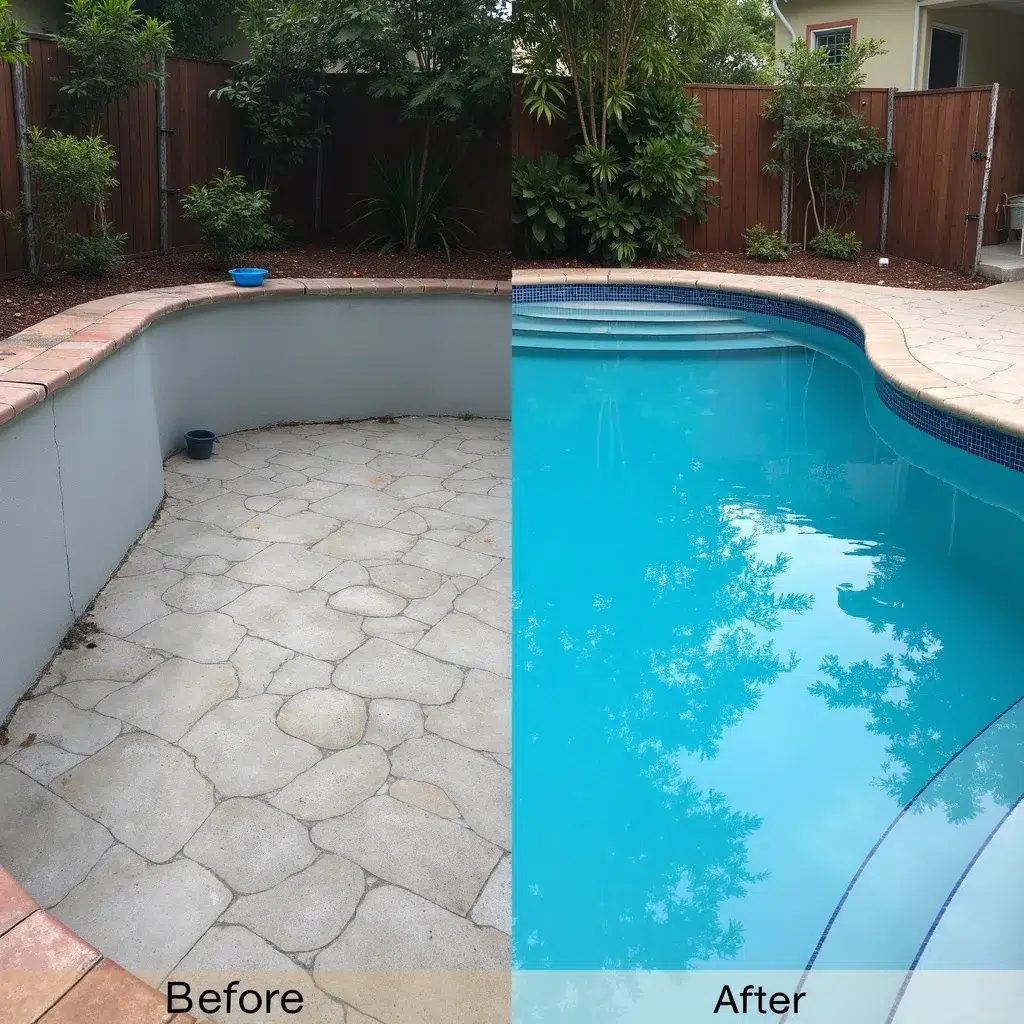
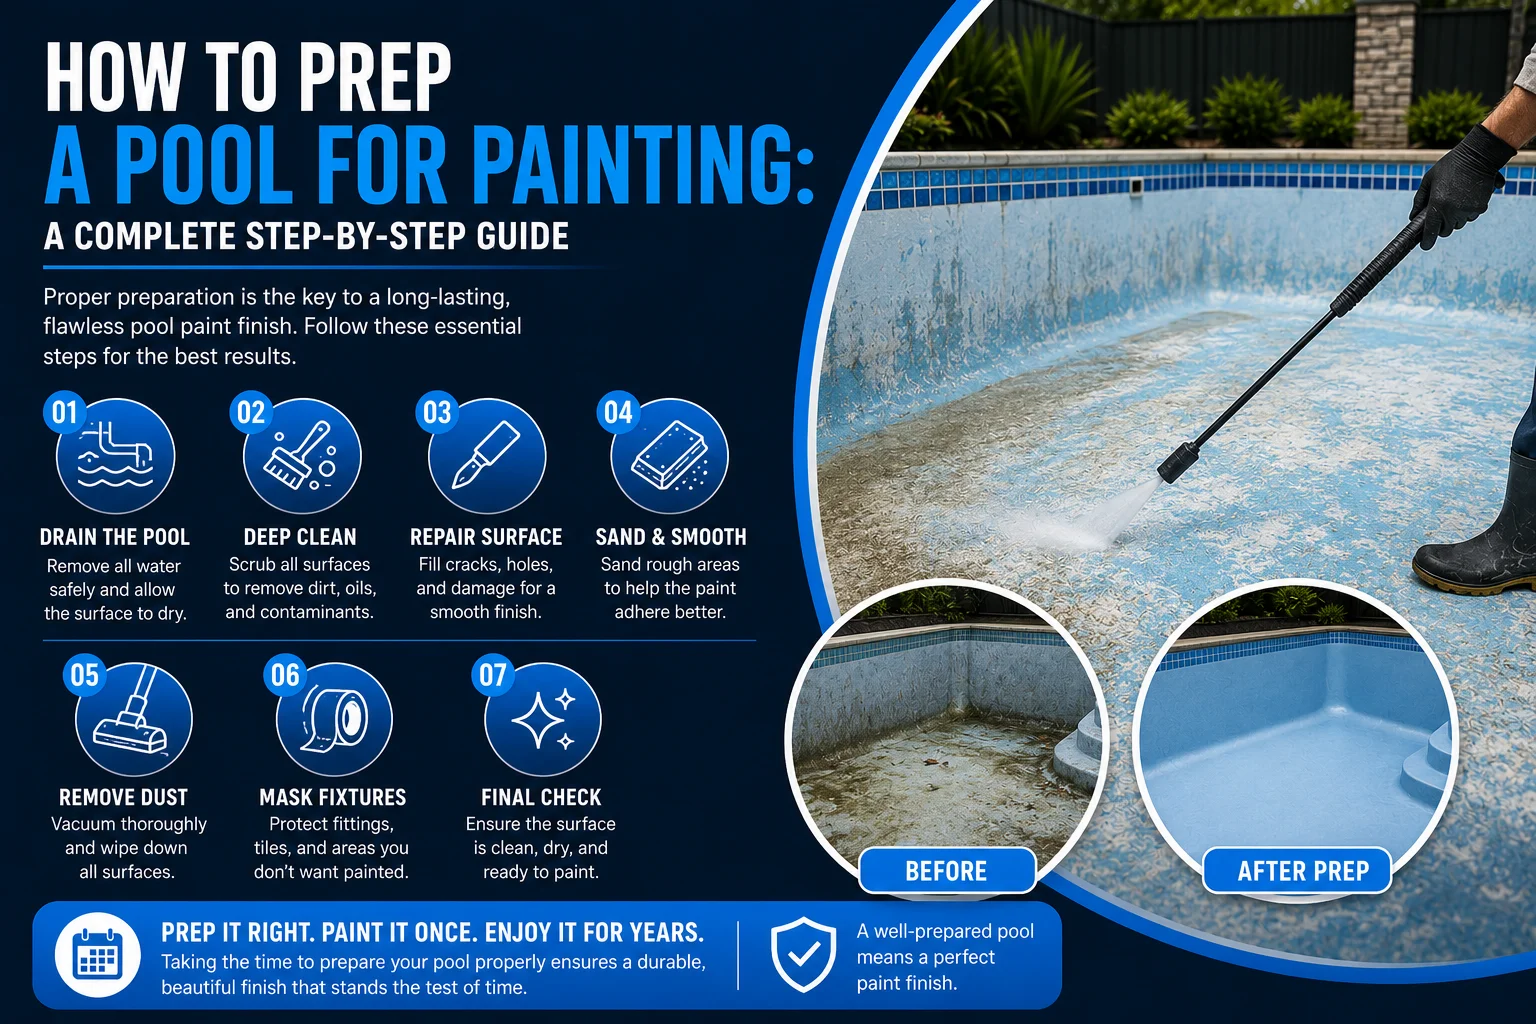
A lot of pool owners assume painting is the hard part, but the truth is that preparation makes or breaks the entire job. Pool paint needs a clean, stable, properly textured surface to bond to. If the old surface still has algae, chalky residue, grease, or loose paint clinging to it, the new coat will not adhere properly no matter how good the paint itself is. This is why most paint failures trace back to poor prep work rather than a poor quality product.
Step 1: Drain the Pool Completely
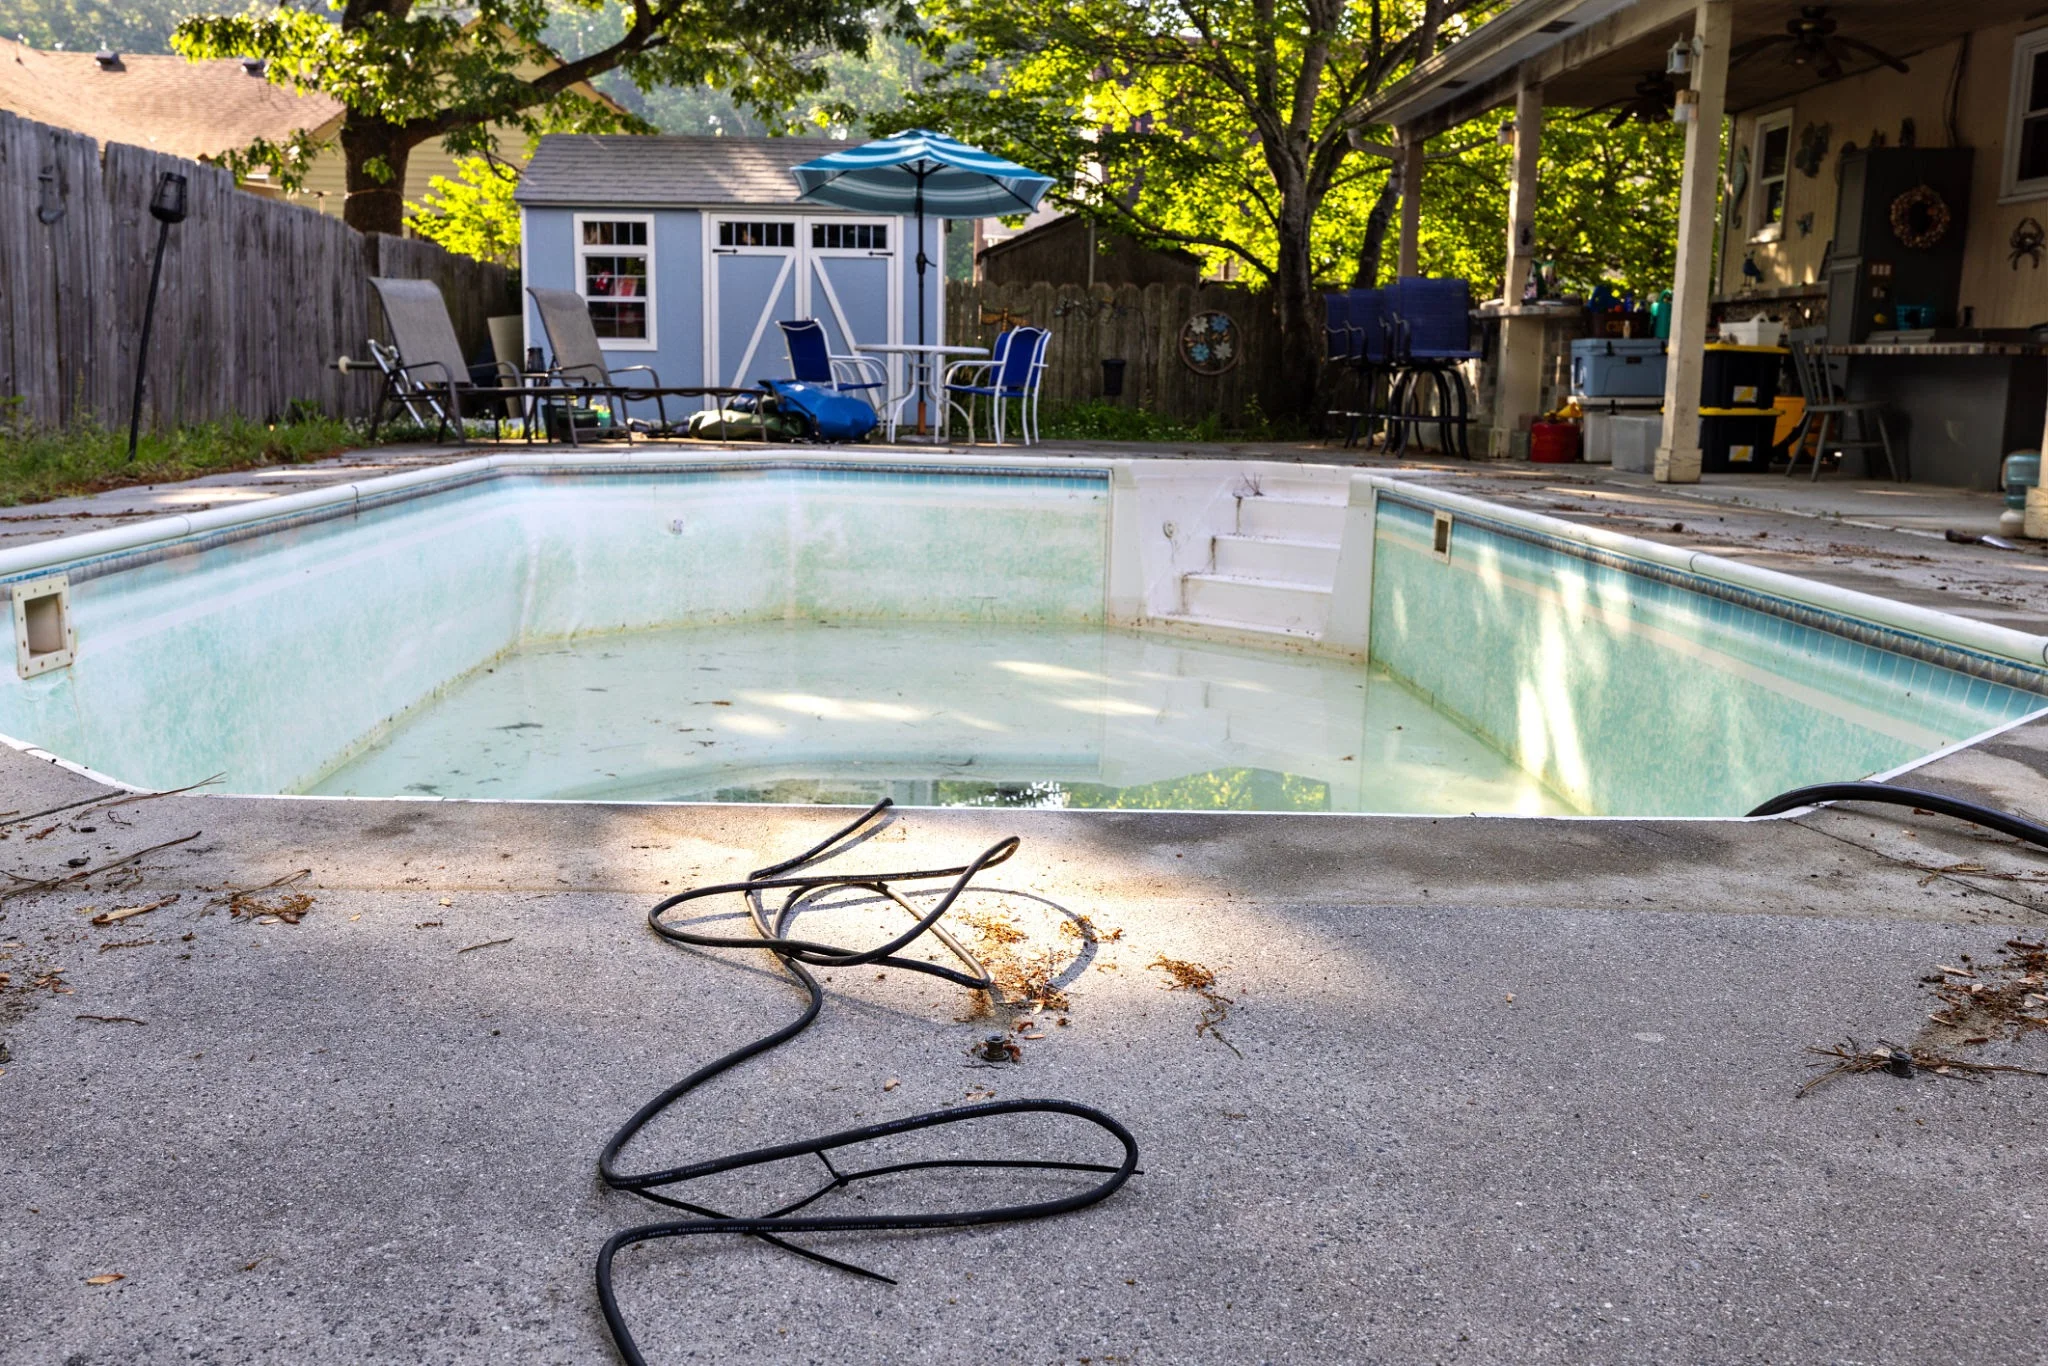
The process starts with fully draining the pool. This needs to be done carefully, since draining too quickly or at the wrong time can cause structural issues in some pool types, particularly fibreglass or vinyl lined pools where groundwater pressure can push against an empty shell. For concrete pools, this is generally less of a concern, but it is still worth checking local conditions and, if in doubt, having a professional assess whether it is safe to drain fully.
Step 2: Clean and Strip the Surface
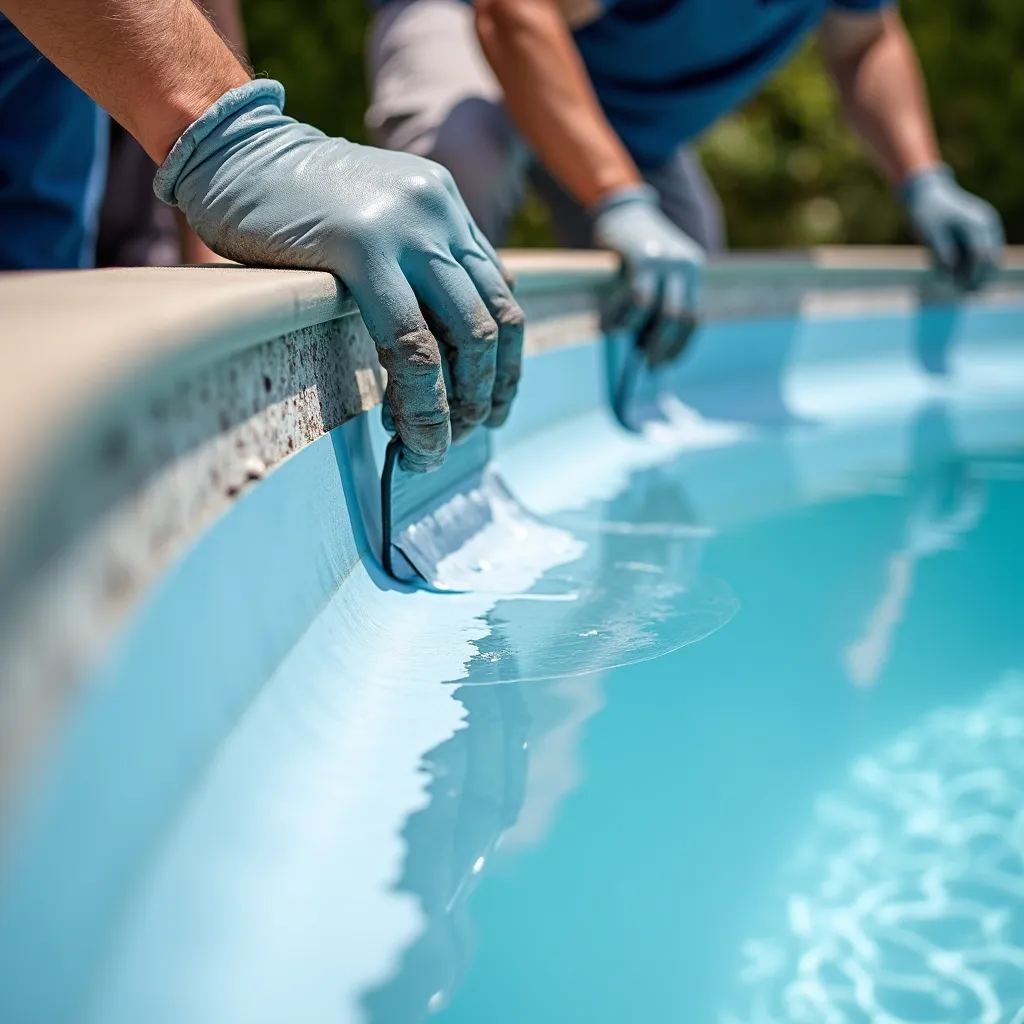
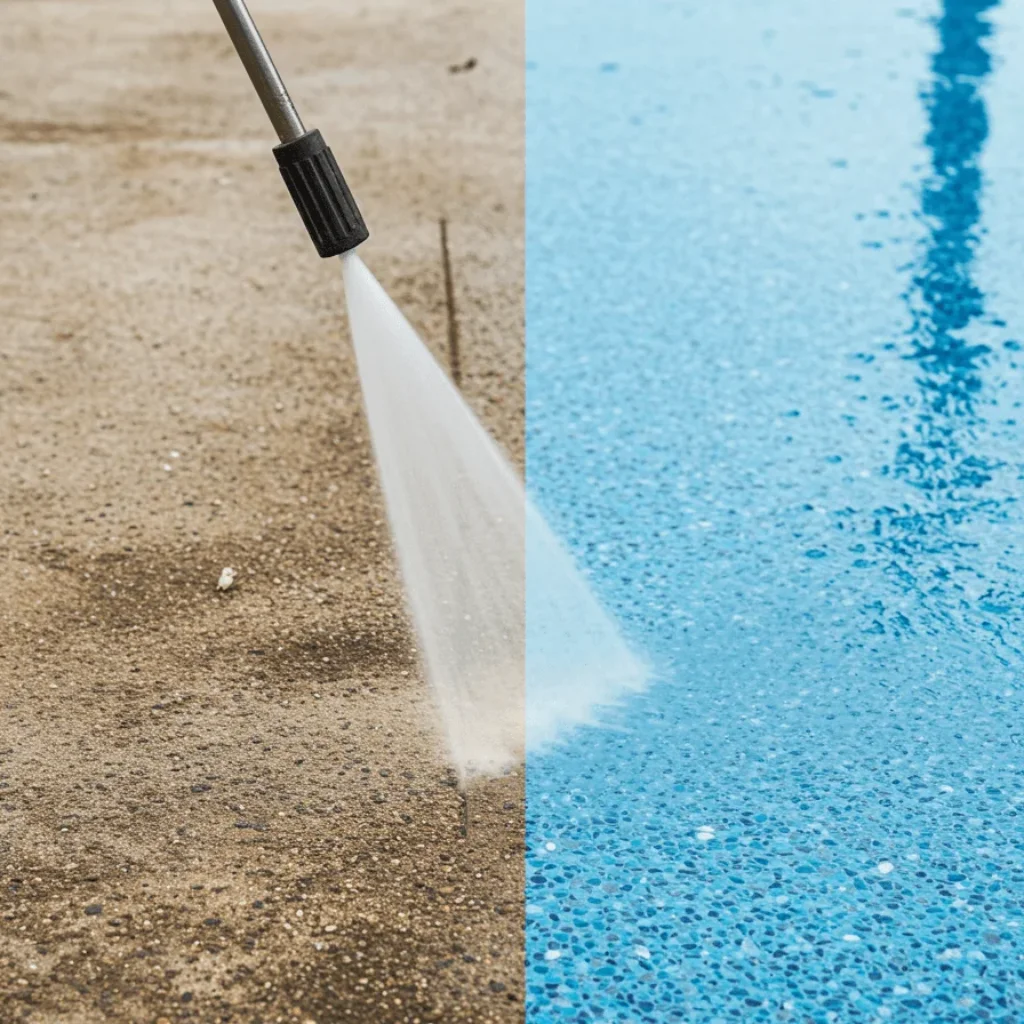
Once drained, the entire surface needs a thorough clean. This usually involves pressure washing to remove dirt, algae and loose debris, followed by a chemical or mechanical strip if there is old paint that is flaking, chalking or peeling. Any old paint that is not fully removed can create an uneven surface, which shows through the new coat and gives paint less to grip onto.
Step 3: Repair Cracks, Chips and Surface Damage
With the surface clean, it becomes much easier to spot cracks, chips, and any areas where the plaster or render has deteriorated. These need to be patched and repaired before painting begins. Painting directly over damage does not fix the underlying issue, it just hides it temporarily, and the problem will usually resurface, sometimes literally, once the pool is refilled.
Step 4: Acid Etch or Sand the Surface
For most pool surfaces, an acid wash or etching treatment is used to open up the pores of the concrete or plaster, giving the new paint something to physically key into. This step is what separates a paint job that lasts for years from one that starts lifting within months. Depending on the surface type, mechanical sanding may be used instead of or alongside acid etching.
Step 5: Rinse, Dry and Inspect
After etching, the pool needs to be rinsed thoroughly to remove any chemical residue, then given adequate time to dry completely. Painting over a damp surface is one of the most common causes of early paint failure, since trapped moisture prevents proper adhesion and can cause bubbling or blistering later on. A final inspection at this stage helps catch anything that was missed earlier.
Step 6: Apply Primer Where Needed
Depending on the paint system being used and the condition of the existing surface, a primer coat may be recommended before the topcoat goes on. Primer helps improve adhesion further and can even out porosity across the surface, particularly on older or previously repaired areas.
Here is a quick summary of the process from start to finish.
| Step | What It Involves | Why It Matters |
|---|---|---|
| 1. Drain | Fully empty the pool, safely | Gives access to the whole surface |
| 2. Clean and Strip | Pressure wash and remove old paint | Removes anything that stops adhesion |
| 3. Repair | Patch cracks and chips | Prevents damage resurfacing later |
| 4. Etch or Sand | Open the surface pores | Helps new paint physically bond |
| 5. Rinse and Dry | Remove residue, dry fully | Avoids bubbling and early failure |
| 6. Prime | Apply primer if needed | Improves adhesion and evenness |
As one experienced pool renovation specialist puts it, “Ninety percent of paint failures we get called out to fix come down to skipped prep work, not a bad paint choice.”
Common Mistakes to Avoid When Prepping a Pool for Painting
Rushing the drying time is one of the most frequent mistakes, since even a surface that looks dry can still hold moisture beneath it. Painting over old, flaking paint instead of fully stripping it is another common issue, along with skipping the acid etching step entirely on the assumption that a clean surface is enough on its own. Weather also matters more than most people expect, since painting in high humidity or direct, intense heat can affect how the paint cures and bonds.
How Long Does Pool Prep Take?
For most residential pools, prep work typically takes anywhere from one to three days, depending on the size of the pool, how much old paint needs to be removed, and how much repair work is required. Larger pools, or pools with significant surface damage, can take longer. It is generally worth allowing a bit of buffer time rather than rushing straight into painting once the pool looks dry.
Should You DIY or Hire Professional Pool Painting Contractors?
Some of this work can be done by confident, well prepared DIYers, particularly the draining and cleaning stages. However, acid etching involves handling hazardous chemicals safely, and correctly assessing surface damage takes experience most homeowners simply do not have. Getting the prep wrong is expensive to fix later, since it often means stripping and starting over. For that reason, many pool owners choose to bring in professional pool painting and resurfacing contractors, who can assess the surface properly, handle the chemical side safely, and back the finished result with a proper warranty.
If you are planning a pool paint job and want it done right the first time, Advance Pool Painting can handle the entire process, from initial assessment through to the final coat, so you get a finish that actually lasts.